 |
| If you can find a cooler ornament... no scratch that, NO ONE can find a cooler ornament |

Showing posts with label printables. Show all posts
Showing posts with label printables. Show all posts
Thursday, December 15, 2011


Tuesday, August 16, 2011
Operation: Back to School // Free Backpack Tag Printables
While my 12 year old is WAY too old for backpack tags (believe me she let's me know on a daily basis all the things she is too old for now), your youngsters may still need some cool backpack tags.

Our elementary school has always given the little one's (K-4) special tags each year, usually in the shape of a bus or an apple, to remind them what bus they need to take home. After a while they stay in the classroom and become little decorations on their desks. It's VERY helpful for forgetful kids who are prone to be excitable while waiting for the bus with lots of their friends.

Here are 2 fun printables for you, a Bus Reminder Backpack Tag and a Lost My Backpack Return To tag. You can find all my free printables (in .jpg format so you can fiddle with them anyway you like) in my Google Photo album: Free Printables: HERE
I suggest downloading the images, print on heavy cardstock, fill out information, punch a hole on the left side, tie to backpack with anything. If you want it to last all year try laminating or if you don't have a laminator use clear packing tape which works just as well.
Enjoy!

Our elementary school has always given the little one's (K-4) special tags each year, usually in the shape of a bus or an apple, to remind them what bus they need to take home. After a while they stay in the classroom and become little decorations on their desks. It's VERY helpful for forgetful kids who are prone to be excitable while waiting for the bus with lots of their friends.

Here are 2 fun printables for you, a Bus Reminder Backpack Tag and a Lost My Backpack Return To tag. You can find all my free printables (in .jpg format so you can fiddle with them anyway you like) in my Google Photo album: Free Printables: HERE
I suggest downloading the images, print on heavy cardstock, fill out information, punch a hole on the left side, tie to backpack with anything. If you want it to last all year try laminating or if you don't have a laminator use clear packing tape which works just as well.
Enjoy!
Tuesday, August 2, 2011
Operation: Get Organized // Meal Planning
Have I ever mentioned how BAD a cook I am?
I must have, I can't imagine I would have left out that juicy tid-bit of information.
I have successfully cooked MANY boxes of mac and cheese and any other 1/2 packaged food. I am the MASTER of exactly 2 meals Chili and Lasagna (both of which my kids hate by the way). Thankfully I married a man who knows his stuff. I never really had it in me to learn, not for lack of trying on my Aunt and Mother's part (they are great cooks too).
Meal planning and grocery shopping has always alluded me, mostly because I get stuck for ideas after 2 days on the calendar. I actually used to take the old school lunch calendars and rework them for dinners (I know, SHAMEFUL).
So, along with making a meal plan, and corresponding grocery lists I have made a deal with the kids to try 1 NEW meal each week for the next 2 months. I promised to FOLLOW a recipe and actually cook, and they promised to try a minimum of 2 bites.
These are some hefty promises, I assure you, neither will be easy.
I have a 2 part plan, I found this awesome FREE printable meal planner via 733blog. Kim is a genius, and I figured why mess with that? Visit her HERE and give props for this beauty. You can click on the link on her blog to download and print this for yourself (there is also a matching recipe book).

The second part of my plan is BigOven.com (also they have an iPhone, iTouch and iPad app).

This site is AMAZING. If you have a device that supports the app, I HIGHLY recommend it, especially if you can use it in your grocery store. I unfortunately do not have an 'i' device so I use it from home, but it is just as effective. Search, or let the kids, for a recipe you like and it AUTOMATICALLY starts your shopping list for everything you need to make it! You simply uncheck the items you already have and presto, shopping list done. You can plan entire weeks worth of meals, sort them, create the shopping list and then print it out (or if you are using the app, you can check them off as you put them in your cart).
Genius.
I must have, I can't imagine I would have left out that juicy tid-bit of information.
I have successfully cooked MANY boxes of mac and cheese and any other 1/2 packaged food. I am the MASTER of exactly 2 meals Chili and Lasagna (both of which my kids hate by the way). Thankfully I married a man who knows his stuff. I never really had it in me to learn, not for lack of trying on my Aunt and Mother's part (they are great cooks too).
Meal planning and grocery shopping has always alluded me, mostly because I get stuck for ideas after 2 days on the calendar. I actually used to take the old school lunch calendars and rework them for dinners (I know, SHAMEFUL).
So, along with making a meal plan, and corresponding grocery lists I have made a deal with the kids to try 1 NEW meal each week for the next 2 months. I promised to FOLLOW a recipe and actually cook, and they promised to try a minimum of 2 bites.
These are some hefty promises, I assure you, neither will be easy.
I have a 2 part plan, I found this awesome FREE printable meal planner via 733blog. Kim is a genius, and I figured why mess with that? Visit her HERE and give props for this beauty. You can click on the link on her blog to download and print this for yourself (there is also a matching recipe book).

The second part of my plan is BigOven.com (also they have an iPhone, iTouch and iPad app).
This site is AMAZING. If you have a device that supports the app, I HIGHLY recommend it, especially if you can use it in your grocery store. I unfortunately do not have an 'i' device so I use it from home, but it is just as effective. Search, or let the kids, for a recipe you like and it AUTOMATICALLY starts your shopping list for everything you need to make it! You simply uncheck the items you already have and presto, shopping list done. You can plan entire weeks worth of meals, sort them, create the shopping list and then print it out (or if you are using the app, you can check them off as you put them in your cart).
Genius.
Wednesday, July 27, 2011
Anatomy of a Rock Star Birthday Party: The final showdown
Autumn's Big Bash has been quite an event to plan and carry out. Now that it's over I can safely say we will NEVER do that again. It was SO HOT, way too hot to have a Costume Contest and a bunch of kids in and out of the house. From now on Autumn has 2 choices: Have the party at the beach or have it during the school year when it's cooler.
The Rock Star theme was a good one, I loved all her ideas, but having a birthday during the summer is hard. Anyone who has ever tried to coordinate vacation schedules with a dozen or so families can attest to the craziness, and hurt feelings that can occur. Most of the kids invited were at family reunions or vacationing out of state. We definitely has a good crew, and everyone had fun, which is really the most important thing.
Some of our FAIL craft:
One of our activities was to have the guests all make their own rock star cuffs. Autumn loved the idea, and our prototype came out quite good. In the end it just seemed like 2 much hassle with everything else going on and our last minute venue change (oh yes, the heat was TOO much and we decided we needed a sprinkler, so in true rocker style we had a last minute venue change to Mema's house).

These cute little guitars were going to be sacks of candy, the paper bag patterns came out pretty good, but they never made their way to the stage due to costuming difficulties, we just didn't have the time to decorate them up and sew them all. Autumn designed them all herself, I LOVE the pac man one, it may still have a use someday...

To recap, the even was a success, just not the way we had planned, and that's ok. The venue change made the fact that the band cancelled great, because we wouldn't have had space for them. Mema busted out some fun water ball nerf thingies and the kids spent so much time chucking them at each other to cool off, they didn't notice there wasn't a cuff making activity.
If you missed the DIY stuff, you can find the invites HERE, Backstage passes HERE and an Impatient Crafter's Rocker Banner HERE. ENJOY!
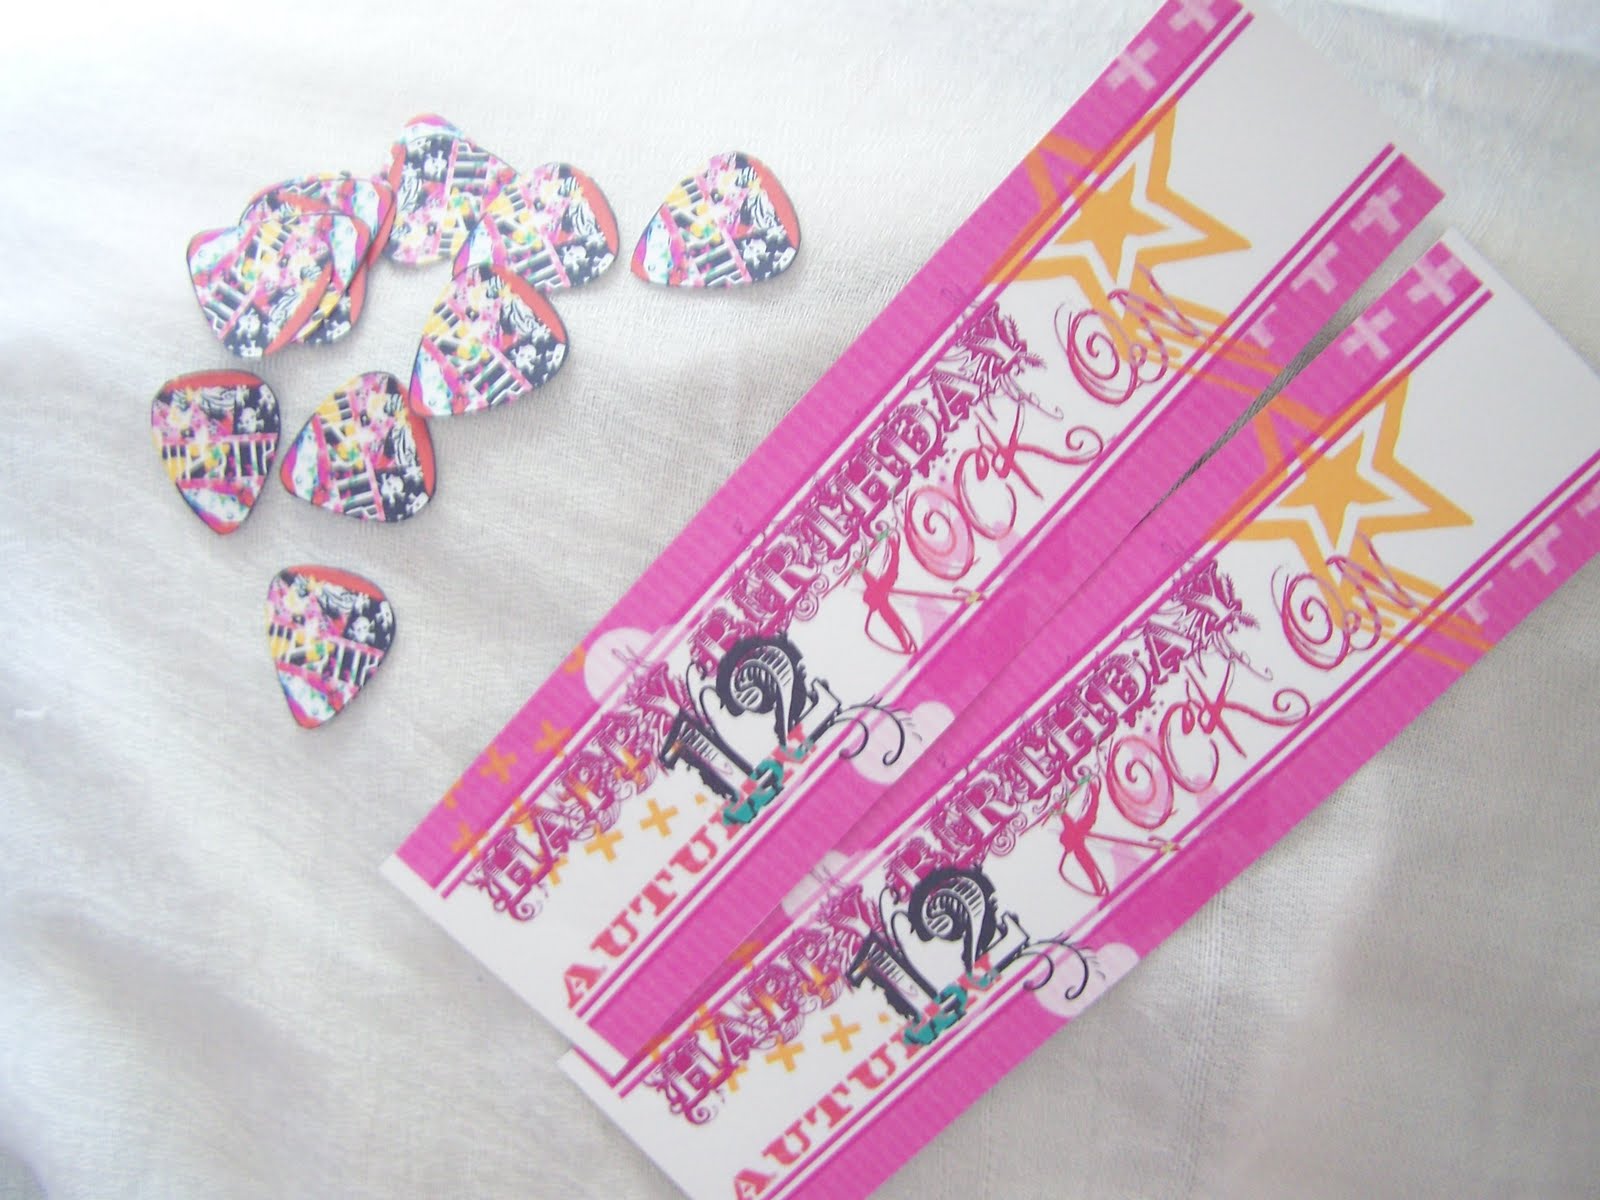 |
| Pick and water bottle stickers, made in Picnik and printed on full sheet sticker paper |
 |
| Sunday Bar and Cake Pops |
One of our activities was to have the guests all make their own rock star cuffs. Autumn loved the idea, and our prototype came out quite good. In the end it just seemed like 2 much hassle with everything else going on and our last minute venue change (oh yes, the heat was TOO much and we decided we needed a sprinkler, so in true rocker style we had a last minute venue change to Mema's house).

These cute little guitars were going to be sacks of candy, the paper bag patterns came out pretty good, but they never made their way to the stage due to costuming difficulties, we just didn't have the time to decorate them up and sew them all. Autumn designed them all herself, I LOVE the pac man one, it may still have a use someday...

To recap, the even was a success, just not the way we had planned, and that's ok. The venue change made the fact that the band cancelled great, because we wouldn't have had space for them. Mema busted out some fun water ball nerf thingies and the kids spent so much time chucking them at each other to cool off, they didn't notice there wasn't a cuff making activity.
If you missed the DIY stuff, you can find the invites HERE, Backstage passes HERE and an Impatient Crafter's Rocker Banner HERE. ENJOY!
Thursday, July 21, 2011
Anatomy of a Rock Star Birthday Party Part 1: Creating Backstage Passes
We finally finished our backstage passes for Autumn's Big Bash.
YES, I am fully aware the party is in 3 days, I am a bit of a procrastinator (ie. invitations the night before she needed to give them out). In the next few days we will be crafting up a few more things, so stay tuned.
This is the one we printed for her party guests:

 If you have never used Picnik before NOW IS THE TIME. It's free, easy and fun. I created the background using a mix of Picnik, Paint and Word (2007 version). Instructions on making this background from scratch (so you can add your own photo instead of using mine) are HERE. It was a drawn out process, if you have Photoshop (which I currently do not on my laptop), you could probably whip this up a lot easier. The instructions are easy to follow but it took us about an hour to get all the pieces together.
What to do (using Picnik):
1. Save the .jpg file to your desktop and open Picnik.
2. Upload the photo and click the 'create' button
3. Choose 'Add Text' from the tool bar along the top
4. Add the date of your party in the white space and whatever other words you want
5. Choose 'Save and Share', save the updated file to your desktop
6. Arrange, print and then have your child sign the white space at the top (unless you added their name using Picnik earlier)
7. You can laminate them and punch holes to add a ribbon or lanyard, or if you want to get really fancy you can get some badge holders at Staples or Walmart to slide them in.
Now if you are an impatient crafter like me, you can always just print them as is and write the date in. Done and done.
YES, I am fully aware the party is in 3 days, I am a bit of a procrastinator (ie. invitations the night before she needed to give them out). In the next few days we will be crafting up a few more things, so stay tuned.
This is the one we printed for her party guests:

Since we created them as a .jpg file we could add them to a word document to print them 4 up on the page and get them any size we wanted. If you want to use our design, click the one below you will be taken to the BLANK version (it doesn't have the word bubbles). I WILL be posting our other creations for you to add to this if you want to create a whole party.
What to do (using Picnik):
1. Save the .jpg file to your desktop and open Picnik.
2. Upload the photo and click the 'create' button
3. Choose 'Add Text' from the tool bar along the top
4. Add the date of your party in the white space and whatever other words you want
5. Choose 'Save and Share', save the updated file to your desktop
6. Arrange, print and then have your child sign the white space at the top (unless you added their name using Picnik earlier)
7. You can laminate them and punch holes to add a ribbon or lanyard, or if you want to get really fancy you can get some badge holders at Staples or Walmart to slide them in.
Now if you are an impatient crafter like me, you can always just print them as is and write the date in. Done and done.
Subscribe to:
Posts (Atom)