Showing posts with label tutorials. Show all posts

Friday, December 2, 2011

FHF Handmade Holidays No.1

By the time December is over you are going to be so stuffed full of gifts and decor you're all going to hate me :) I am so excited about the next few Four Heart Friday's! As you know I am a Pinterest addict and I have been collecting some pretty fun DIY's for me (and you). This week I was sewing and scrapping, next week I will be knitting and using a staple gun (it's not as dangerous as it sounds).
Better Homes and Gardens Tutorial: I am SO Making this.
Tutorials and my OWN handmade gifts will begin popping up next week (I have warned my friends and family to stay away from here until after Christmas, like a "Do not open until Dec.25th warning). They may not heed my advice, in which case they will all know what they are getting, but that's their loss on the surprise factor, because I am really excited to show you what I'm making!

This week I am majorly hearting any tutorial that can be 1. completed in one day, and 2. I already have the materials for. This makes this week's hearts fast and inexpensive for gift giving (for me anyway).

I've been drooling over cowls for weeks and weeks, I don't typically like things touching my neck (factoid about me). I never wear necklaces because it feels like a choking hazard, I do love to wear scarves though. It's freezing cold here most of the year and I love to be warm. My kids are neck warmer types, they tend to get frustrated with the dangly-ness and awkward styling of a scarf (I've had a lot of practice). So this seems like a logical choice:
luvinthemommyhood tutorial and downloadable PDF Pattern
My little Lili is getting to that stage of her 3 year old life where she actually plays with her stuffed animals and babies, how sweet would it be to have their own little camping set? These sleeping bags seem like a good start, I'm searching for a tent pattern too (if anyone knows any hit me up on FB!).
HAZELNUTS rendition of Flossie Teacakes little bears pattern

This makes me feel like I want to give necklaces a try! So pretty and white so it goes with everything, I think it could be modified into a bracelet / earring combo pretty easily too. I might add a few crystals to earrings along with the pearl bits...
Southern Fairy Designs Anthro Power of 3 knockoff
Last heart of the week is the greatest photo tip I have received in years! I have always been disappointed with my tree and decoration photos because of the crappy lighting in my house, and now I know it was really just the way I was using my camera. I have a point and shoot camera, but it does have manual settings, I have just been too scared (or too lazy) to try them. This is a great excuse.

It works for Bobbi! Tutorial
Thank you blogosphere for all the inspiration, I heart you.

What are you hearting this week? Any cool tutorials for good gifts or decor this year?

Rules to link by:
- Link directly to your post, not your main blog
- Grab a button and add it to your post so your friends can come join in
- Visit someone else and share the comment love


AAOK


Wednesday, November 30, 2011

Impatient Crafting: Making ATC labels in Picnik

Have I mentioned how much I LOVE Picnik? Have I also mentioned that sometimes I am impatient and need instant gratification?

I will concede that Photoshop and Paint Shop Pro have many features Picnik can only dream of having, but when you need something done quickly and only need a few basic edits it's perfect.

To finish off ATC's for trading you should always put the card information on the back. You can hand write the info but I prefer to add a label that way I can make the cards 3-D and not worry about trying to scrawl on the back of a bumpy surface.

I whipped these up in less than 30 minutes on Picnik using the Collage, Stickers and Text features only, no photos required. Pretty saaaaweeeet if you ask me.

To make your own:

1. Open Picnik and select Collage from the top menu.

2. Select your collage size, change the background to white and minimize all of the spacing by dragging the bar all the way to the left. Select done, and Picnik takes you to the editing menu.


3. Select Stickers on the top menu and add a few, fade the color out using the slide bar that appears when you add the sticker so that you will be able to write on them later.


4. Once your stickers are all placed and faded, select Text from the top menu. Add your text and change fonts until you are satisfied with your label. TIP: To create the line to write on use "shift -". Underline/Tab combo do not work in Picnik.


4. Select Save and Share when you are finished. Add your .jpg image to a word document and print!


Tuesday, November 29, 2011

ATC Swapping Preparations and Pretty Holiday Nails (these things are not related)

The thing about making a ton of holiday gifts is that my craft table becomes overrun with scraps of paper, material and all the little tiny things that get trimmed off a project. I usually have scads of these little things all over the frakking place which means the usable space on my craft table keeps shrinking and shrinking as I work.

Factoid about me: I hate throwing things away that I know can be useful. Also, if you recall I have a tight budget when it comes to crafting (my husband says it's not a necessity, go figure?).

Paper and fabric scraps get chucked into containers, and boxes and baggies and, you get the point. One of my destash projects is making ATC's (I like to swap them on swap-bot.com). As with many of my projects I tend to start and stop because of the myriad of interruptions that can happen at any given moment around here. So I prep the actual cards in bunches, clear up all my scraps and then keep those handy for when I have a spare moment to whip some up.

Here's how I prep and destash for ATC's:

1. Cut my base cards from heavy card stock, standard ATC card size is 3.5 x 2.5
2. Cut all my larger scraps of paper into backgrounds, same size
3. Gather a bunch of strips and squares to make collaged backgrounds.


4. Adhere backgrounds to bases with a gluestick and make a few backgrounds with the strips.


5. Turn over and trim all the edges so they are the correct size


TIP: ATC traders and collectors are pretty particular about sizing! Make sure that if you are making ATC's for trade that you get them to exactly 3.5 x 2.5 or as close as possible. Most collectors use trading card sheet protectors to store their trades, you want to make sure that your cards will fit into their collection.


6. I like to sew up the edges of my collaged bases to ensure the pieces stay put. If you choose to collage and NOT sew, make sure you are using a tough glue that will really hold on tight!
7. Now I have a stash of bases I can use to create ATC's whenever the mood strikes me and they take up 1/2 the room the scraps did, giving me more work space.


For more information on ATC's check out THIS, for more info on trading ATC's check out THIS.


PS: My nails are super freaking cute right now! I love the new Salon Effects for Christmas! I got mine at Rite Aid, but I think you can pick them up at WalMart too...


Wednesday, November 23, 2011

Snow Squirters!

Need a quick diversion for bored kids on a snow day? 5 Minute Snow Squirters are the way to go. Grab some 1 liter bottles (or 20 oz works well too, 2 liters are too big and hard to control). You could get fancy here and use a drill, but I'm way to lazy for that, plus if you saw my basement you would know it's impossible find things in there fast. Poke some holes in the cover using a Phillips screwdriver and a hammer. Fill up the bottles with cold water and drop 4 to 6 drops of food coloring in the water. Screw on the cap and give the bottles a swirl.

2 hours of snow fun in just 5 minutes. Rock on recycling!


Tuesday, August 9, 2011

Back to School crafting has begun

My craft table started like this this morning:

I've been getting my craft on, and now it looks like this:


I hope you will all join me for some tutorials and other back to school goodness next week! Here is a sneak peek:


Are you making anything for back to school gifts? Horror stories of tweenage shopping? Link Up anytime over HERE.

Thursday, August 4, 2011

Operation: Get Organized // Time for a reward

Now that I have things in order (somewhat, I still have Back to School to get through), it's time to take a break and do something FUN!

I found the most amazing blog with the cutest couple EVER yesterday: Crowley Party.
If you have never visited their little corner of the blogosphere, please click the photo below for their main blog or the link in my sidebar (to see their link up page) and give them a visit. Read their 'about us and the blog' post. They are the sweetest people ever. Their motto "Life should be a PARTY" is so fun, and inspiring, because it SHOULD be a party!

Maybe not all the time, but if you never take the time to enjoy what you have, live what is right in front of you and just BE in your moments, WHAT IS THE POINT?

So, after everything was organized,
I went to meetings,
I talked to a counselor about quitting smoking,
I joined a gym,
I called the registrar at college to see what needs to happen for me to get my degree, finally,
I set up doctors appointments for the kids,
I filled out registration forms,
I went to job interviews,
I applied for more jobs,
I did laundry, dishes, vacuuming and other housework.

Then I STOPPED, doing all those things.

I made a fun project with the kids (Guest Post and Tutorial HERE)


I colored with chalk on the driveway


I made plans for a BBQ with some good friends

I went to see the last Harry Potter with my 12 Year Old

I let every moment with my family sink in, and ENJOYED THE PARTY.


What are you doing to enjoy the last vestiges of summer? Did you get all the organizing done you wanted to?

***********************************************************************************
Remember to stop by all day Friday for the Four Heart Friday Link Party!

Support and Share the Awkward, grab a button HERE


Kiwivandal


Monday, August 1, 2011

Operation: Get Organized // Mom Binder

(remember to link up HERE)

I'm not out to re-invent the wheel.
I might be trying to re-invent myself a little though. Throughout my life I have always had an organizer, a planner and lists. When Autumn was a little girl I started a Mom Binder to keep EVERYTHING in. After looking at this mess:

I realized it was time to re-embrace the mom binder.


I bought a few supplies, for a grand total of $7.00, I had the makings of a Mom Binder.
- 3 ring binder
- zipper pouch (with a window)
- sheet protectors
- index cards
- dividers
I also grabbed an ATC sheet protector and an Avery pocket from my office supply stash.
(yes, I have an office supply stash, doesn't everyone?)

Now I have this:

1 bag to carry (above),
- Mom Binder
- Planner
- Coffee Sleeves
- Notebook
- Magazine

1 car bag (above),
- change of clothes/underwear/Pull-Ups for 3 YO
- selection of toys
- first aid kit
- blanket
- Plastic baggies
- long sleeve shirts for everyone

My Mom Binder:

Everyone has different things that are important for their family, my sections may not be best for everyone. This design is one I used when Autumn was about 6... I got lazy and slacked off about it in recent years and stopped using one all together.

It's not fancy, it's a little ghetto, but that's how I roll.

Here are some other cool things I found:

- Mommy Tracked - Pre-made organizational binder with cute matching calendars.
- The Stir - Closet organization for kids
- Lucky Mom - baskets, containers and labels, oh my!
- Sun and Candlelight - OMG, this lady has some SERIOUS files

Do you have a Mom Binder? How do you keep things organized on the go (and remember everywhere you have to go)? Link up your stories, ideas, tips and tricks HERE or leave a comment!

Thursday, July 28, 2011

Operation: GET ORGANIZED MOM!


Here's the sitch: Since becoming unemployed, I have become VERY disorganized. I don't really know how to be a SAHM, I have always been a working mom. An ORGANIZED working mom. It actually seemed like the more I had on my plate, the easier it was to juggle it. Now that I have that 9 hours of 'work time' back, I feel like I have no idea what to do with myself.

I have always been the organizer of our family.
I write the lists, I do the calendars, I sign the forms, I do the budget. I went to work, juggled our schedules to get kids to school, daycare, dance class... you get the point. Now, I don't want this to sound like I am supermom, I am totally not. I have always had help. The Hubbs trucks kids to appointments and classes too, Mema always finds time to help out when she can. I have a fantastic support system, and I am grateful everyday for having family close by.

That said, lately I feel like things are OUT OF CONTROL.

Exhibit A:

YES, this is the crap I have been hoarding and hauling around everywhere I go for the past 2 weeks. It is getting bigger, pretty soon I may need to start buckling it up so it wont spill onto the floor of my car.

Exhibit B:

This is BAG #1, papers, planner, cell phone, feminine products, allergy medicine, notepads etc... looks a bit empty due to the removal of my camera and coffee mug which can also be found in there on a regular basis.

Exhibit C:
This is BAG #2, WHO CARRIES 2 BAGS?! Who brings with them this much crap? In here I have about 20 old receipts (I actually found one with a $10.00 off coupon that expired in JANUARY), purse, more notebooks, cup wraps (for take out coffee), pens and apparently some Sweet and Sour Sauce. BTW - I have NO plans to EVER use that sauce.

I've been doing some research (which is about my 3rd favorite thing to do, I know I'm a geek) and I think I may have found a solution. YAY! I'm off to the dollar store to get some supplies, I'll let you in on the full project details ASAP.

While we're add it shall we add a WHOLE BUNCH of Organizing? I know I have a lot to do, I bet you do to. Lets do it next week, sound good to you? I'll get some tips, tricks, buttons and linky's ready :) Maybe we will have a giveaway too.
***********************************************************************************
Remember to stop by all day Friday for the Four Heart Friday Link Party!
Support and Share the Awkward, grab a button HERE


Kiwivandal


Wednesday, July 27, 2011

Anatomy of a Rock Star Birthday Party: The final showdown

Autumn's Big Bash has been quite an event to plan and carry out. Now that it's over I can safely say we will NEVER do that again. It was SO HOT, way too hot to have a Costume Contest and a bunch of kids in and out of the house. From now on Autumn has 2 choices: Have the party at the beach or have it during the school year when it's cooler.

Pick and water bottle stickers, made in Picnik and printed on full sheet sticker paper
The Rock Star theme was a good one, I loved all her ideas, but having a birthday during the summer is hard. Anyone who has ever tried to coordinate vacation schedules with a dozen or so families can attest to the craziness, and hurt feelings that can occur. Most of the kids invited were at family reunions or vacationing out of state. We definitely has a good crew, and everyone had fun, which is really the most important thing.

Sunday Bar and Cake Pops
Some of our FAIL craft:

One of our activities was to have the guests all make their own rock star cuffs. Autumn loved the idea, and our prototype came out quite good. In the end it just seemed like 2 much hassle with everything else going on and our last minute venue change (oh yes, the heat was TOO much and we decided we needed a sprinkler, so in true rocker style we had a last minute venue change to Mema's house).


These cute little guitars were going to be sacks of candy, the paper bag patterns came out pretty good, but they never made their way to the stage due to costuming difficulties, we just didn't have the time to decorate them up and sew them all. Autumn designed them all herself, I LOVE the pac man one, it may still have a use someday...


To recap, the even was a success, just not the way we had planned, and that's ok. The venue change made the fact that the band cancelled great, because we wouldn't have had space for them. Mema busted out some fun water ball nerf thingies and the kids spent so much time chucking them at each other to cool off, they didn't notice there wasn't a cuff making activity.

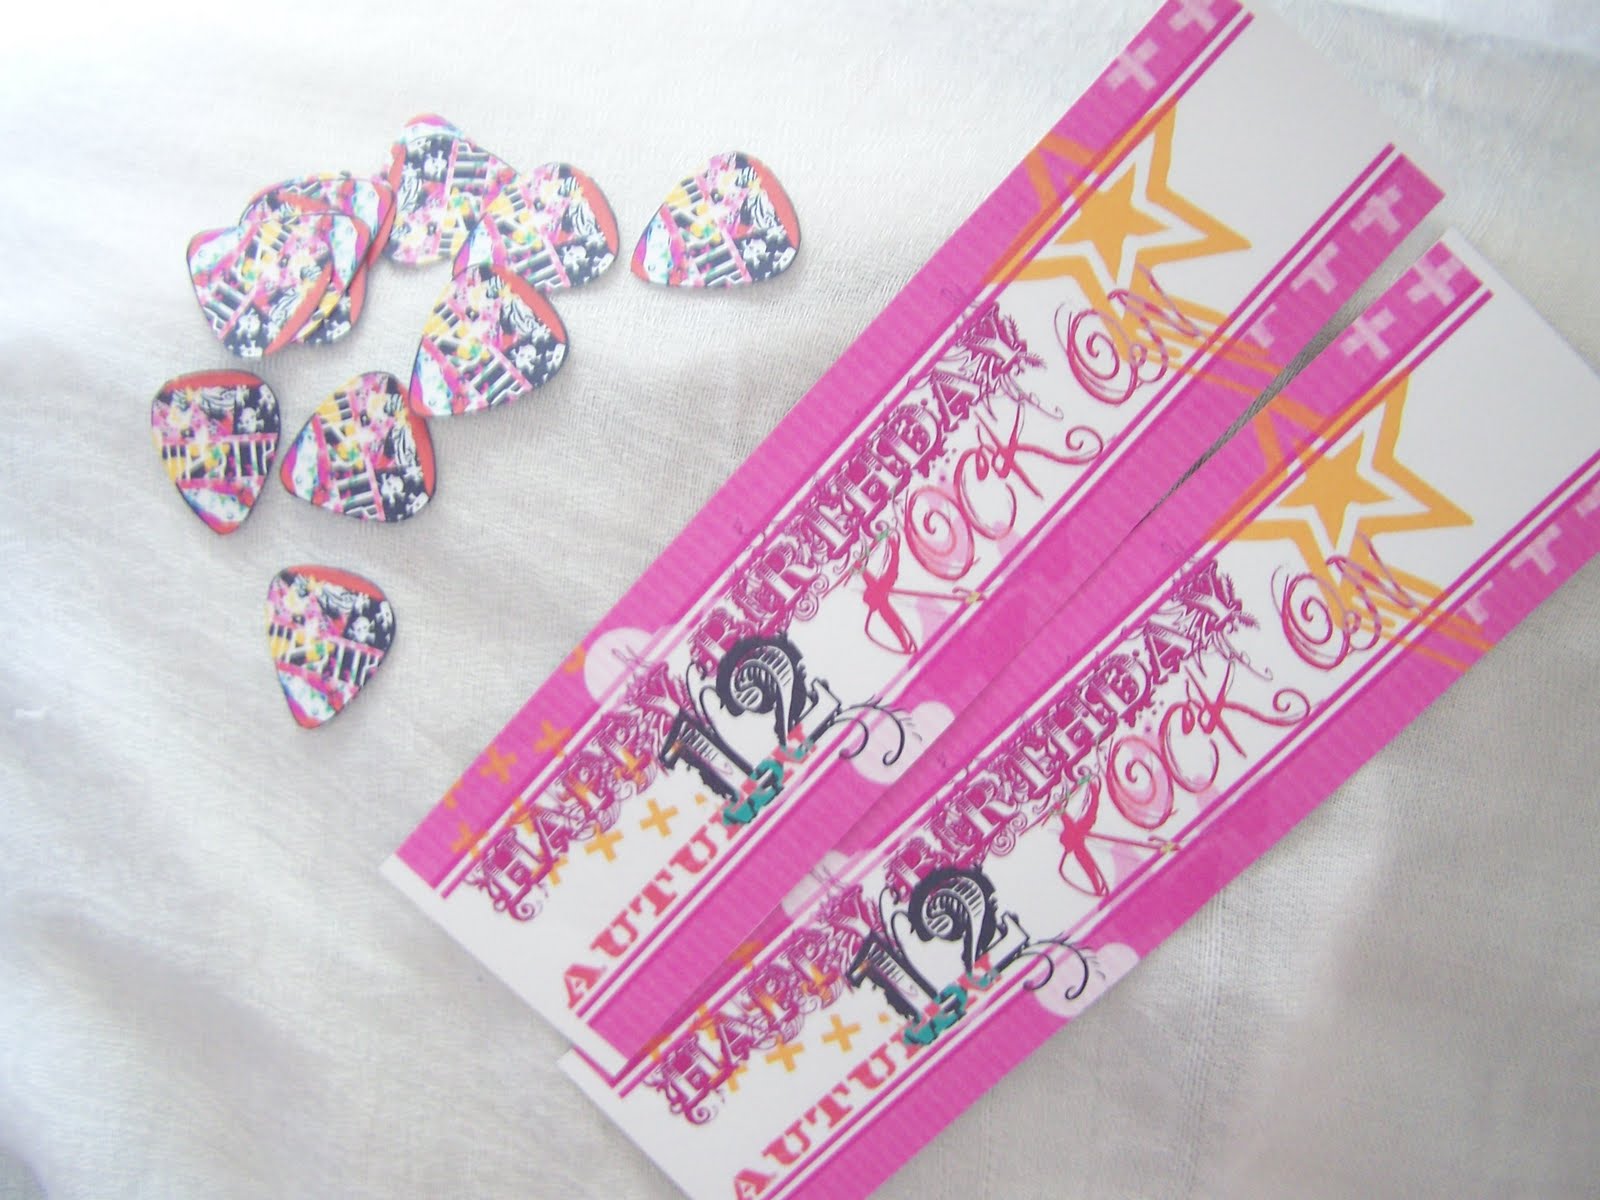
If you missed the DIY stuff, you can find the invites HERE, Backstage passes HERE and an Impatient Crafter's Rocker Banner HERE. ENJOY!

Saturday, July 23, 2011

Birthday Party Madness!


I am throwing a birthday party today.

For a 12 year old GIRL.
That means there will be MULTIPLE 12 year old girls running amok for 3 WHOLE HOURS.

It's about 90 million degrees outside.
We do not have air conditioning.

If I don't melt or go crazy I will be back on Monday with pictures and the last of our Anatomy of a Rock Star Birthday Party tutorials (see here and here)

Wish me luck!

(PS. Just an FYI, the FHF Linky is still open if you have a post to link up!)

Thursday, July 21, 2011

Anatomy of a Rock Star Birthday Party Part 2: Table Banner

I am constantly reminding myself through this process that THESE THINGS WILL NEVER BE USED AGAIN. The best advise I can give someone (not that you asked) when making DIY stuff for kids is to remember that more often than not whatever you are making is going in the trash within 48 hours. Party favors, decorations, invitations all these things are likely not gong to be saved. Don't kill yourself spending tons of money, or countless hours creating something amazing unless you plan to use it again.


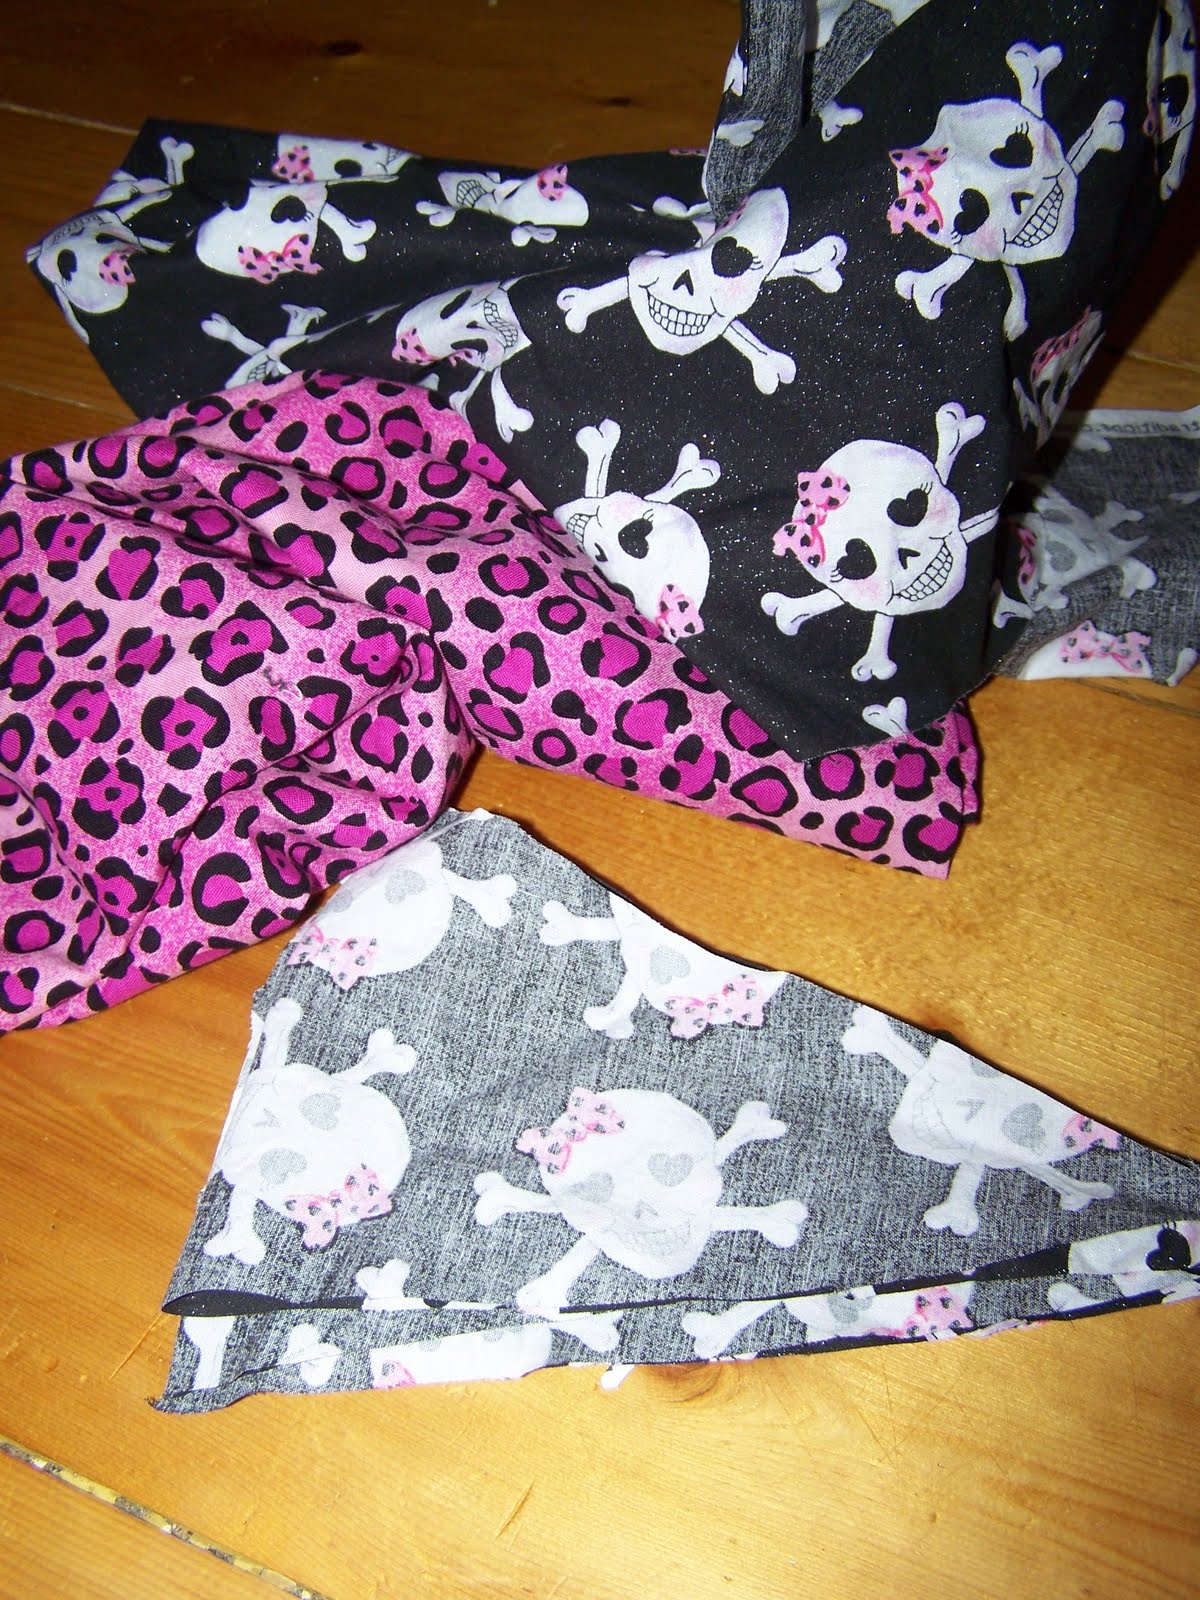
This is why I LOVE impatient crafting. This banner took all of 20 minutes, I used the leftover material from the blanket I made for Autumn a few months ago, this way if she wants to hang it in her room later it will match.

We plan to add this to the end of the picnic table where the kids will eat.

What we did:

1. Cut a triangle from an old paper bag to use as a guide (the paper bag is becoming some patterns for another cool project).
2. Fold over your material so you have a double thickness
3. Cut a bunch of triangles
I used 2 types of material so that we could alternate


4. Grab some ribbon and sew the triangles onto it using a zig zag stitch
I layered the 2 pieces of triangle like a sandwich around the ribbon


5. Create loops for the end and stitch into the last triangle on each side.

Some Notes:
- It took about 1/2 a yard total material
- The black loops were made out of the hang strings to a dress - you know when you buy a strapless dress there are thos annoying strings you cut off? Yeah, those. (I save everything, I swear I'm not a hoarder)
- Autumn ties some sparkly ribbon between the triangles and frayed the edges of each one to make it look 'Rock Star-ish'


***********************************************************************************
Remember to stop by all day Friday for the Four Heart Friday Link Party!

Support and Share the Awkward, grab a button HERE


Kiwivandal